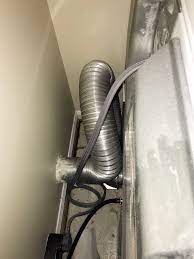
Gas dryer vented with rigid metal duct through an exterior wall.

Proper Dryer Venting for Safer Dryer Airflow

Learn proper dryer venting methods, safe vent locations, approved materials, code considerations, and when dryer airflow problems need professional help.

Proper dryer venting helps warm, moist air leave the home safely without forcing the dryer to work harder than it should. The route, duct material, termination point, and number of bends all affect airflow, drying time, lint buildup, and fire risk.

This guide explains how dryer venting should work, where the vent should terminate, which materials are safest, and when a venting issue may require professional cleaning, repair, rerouting, or installation help.

Quick answer: The safest dryer vent setup is usually a short, straight run of smooth rigid metal duct that terminates outdoors through an exterior wall. Roof vents, long runs, tight bends, plastic ducting, and blocked exterior covers can reduce airflow and increase safety risks.

Why Proper Dryer Venting Matters

Dryers move a surprising amount of warm, moist air. If that air can’t exit quickly and fully, heat and lint build up inside the duct and the appliance. Good vent design keeps airflow strong, shortens dry times, and lowers the chance of overheating or lint ignition.

  • Safety – Improper venting can trap lint, creating a fire hazard.
  • Performance – Long or twisted runs reduce airflow, making cycles take longer.
  • Durability – Gas dryers especially need efficient venting to remove combustion byproducts.
  • Code compliance – Most building codes set maximum vent lengths and restrict certain materials.

If lint builds up or airflow seems weak, it may be time to have a technician check your dryer vent system.

The National Fire Protection Association notes that failure to clean and maintain dryer exhaust systems is a leading cause of household dryer fires (NFPA Clothes Dryer Safety).

Best Locations for Dryer Vent Termination

Where the vent terminates determines how easily air escapes and how often you’ll need maintenance. Wall terminations usually allow a short, straight path; roof terminations can work but demand more care and periodic inspections.

  • Exterior wall termination (ideal) – Short, straight run to an outside wall.
  • Roof venting (less ideal) – Allowed by code, but harder to clean and more prone to clogs.
  • Crawlspace or attic (not permitted) – Moisture and lint must not vent into enclosed spaces.

A general rule: keep the run as short and direct as possible, with minimal bends.

Approved Dryer Vent Materials

Vent material matters as much as the route. Smooth, rigid metal lets lint pass without snagging and resists crushing. Thin foil or plastic, by contrast, collapses under pressure and traps debris problems that slow drying and raise risks.

  • Rigid metal duct (best) – Smooth interior, resists crushing, and meets most codes.
  • Semi-rigid metal duct – Acceptable for short connections between dryer and wall.
  • Foil or plastic flexible duct – Not recommended and often not code-compliant.

Pro Tip: Replace any old foil accordion-style duct with rigid metal for better airflow and safety.

Maximum Vent Length & Elbow Rules

Manufacturers and codes limit how far a dryer can push air before friction and bends reduce performance. Each elbow adds “equivalent length,” so a short run with two tight turns can behave like a much longer straight line.

  • 90° elbow = subtract 5 ft
  • 45° elbow = subtract 2.5 ft

Example: If your local code allows 35 ft but you have two 90° elbows, your maximum straight length is 25 ft.

Dryer Venting Methods

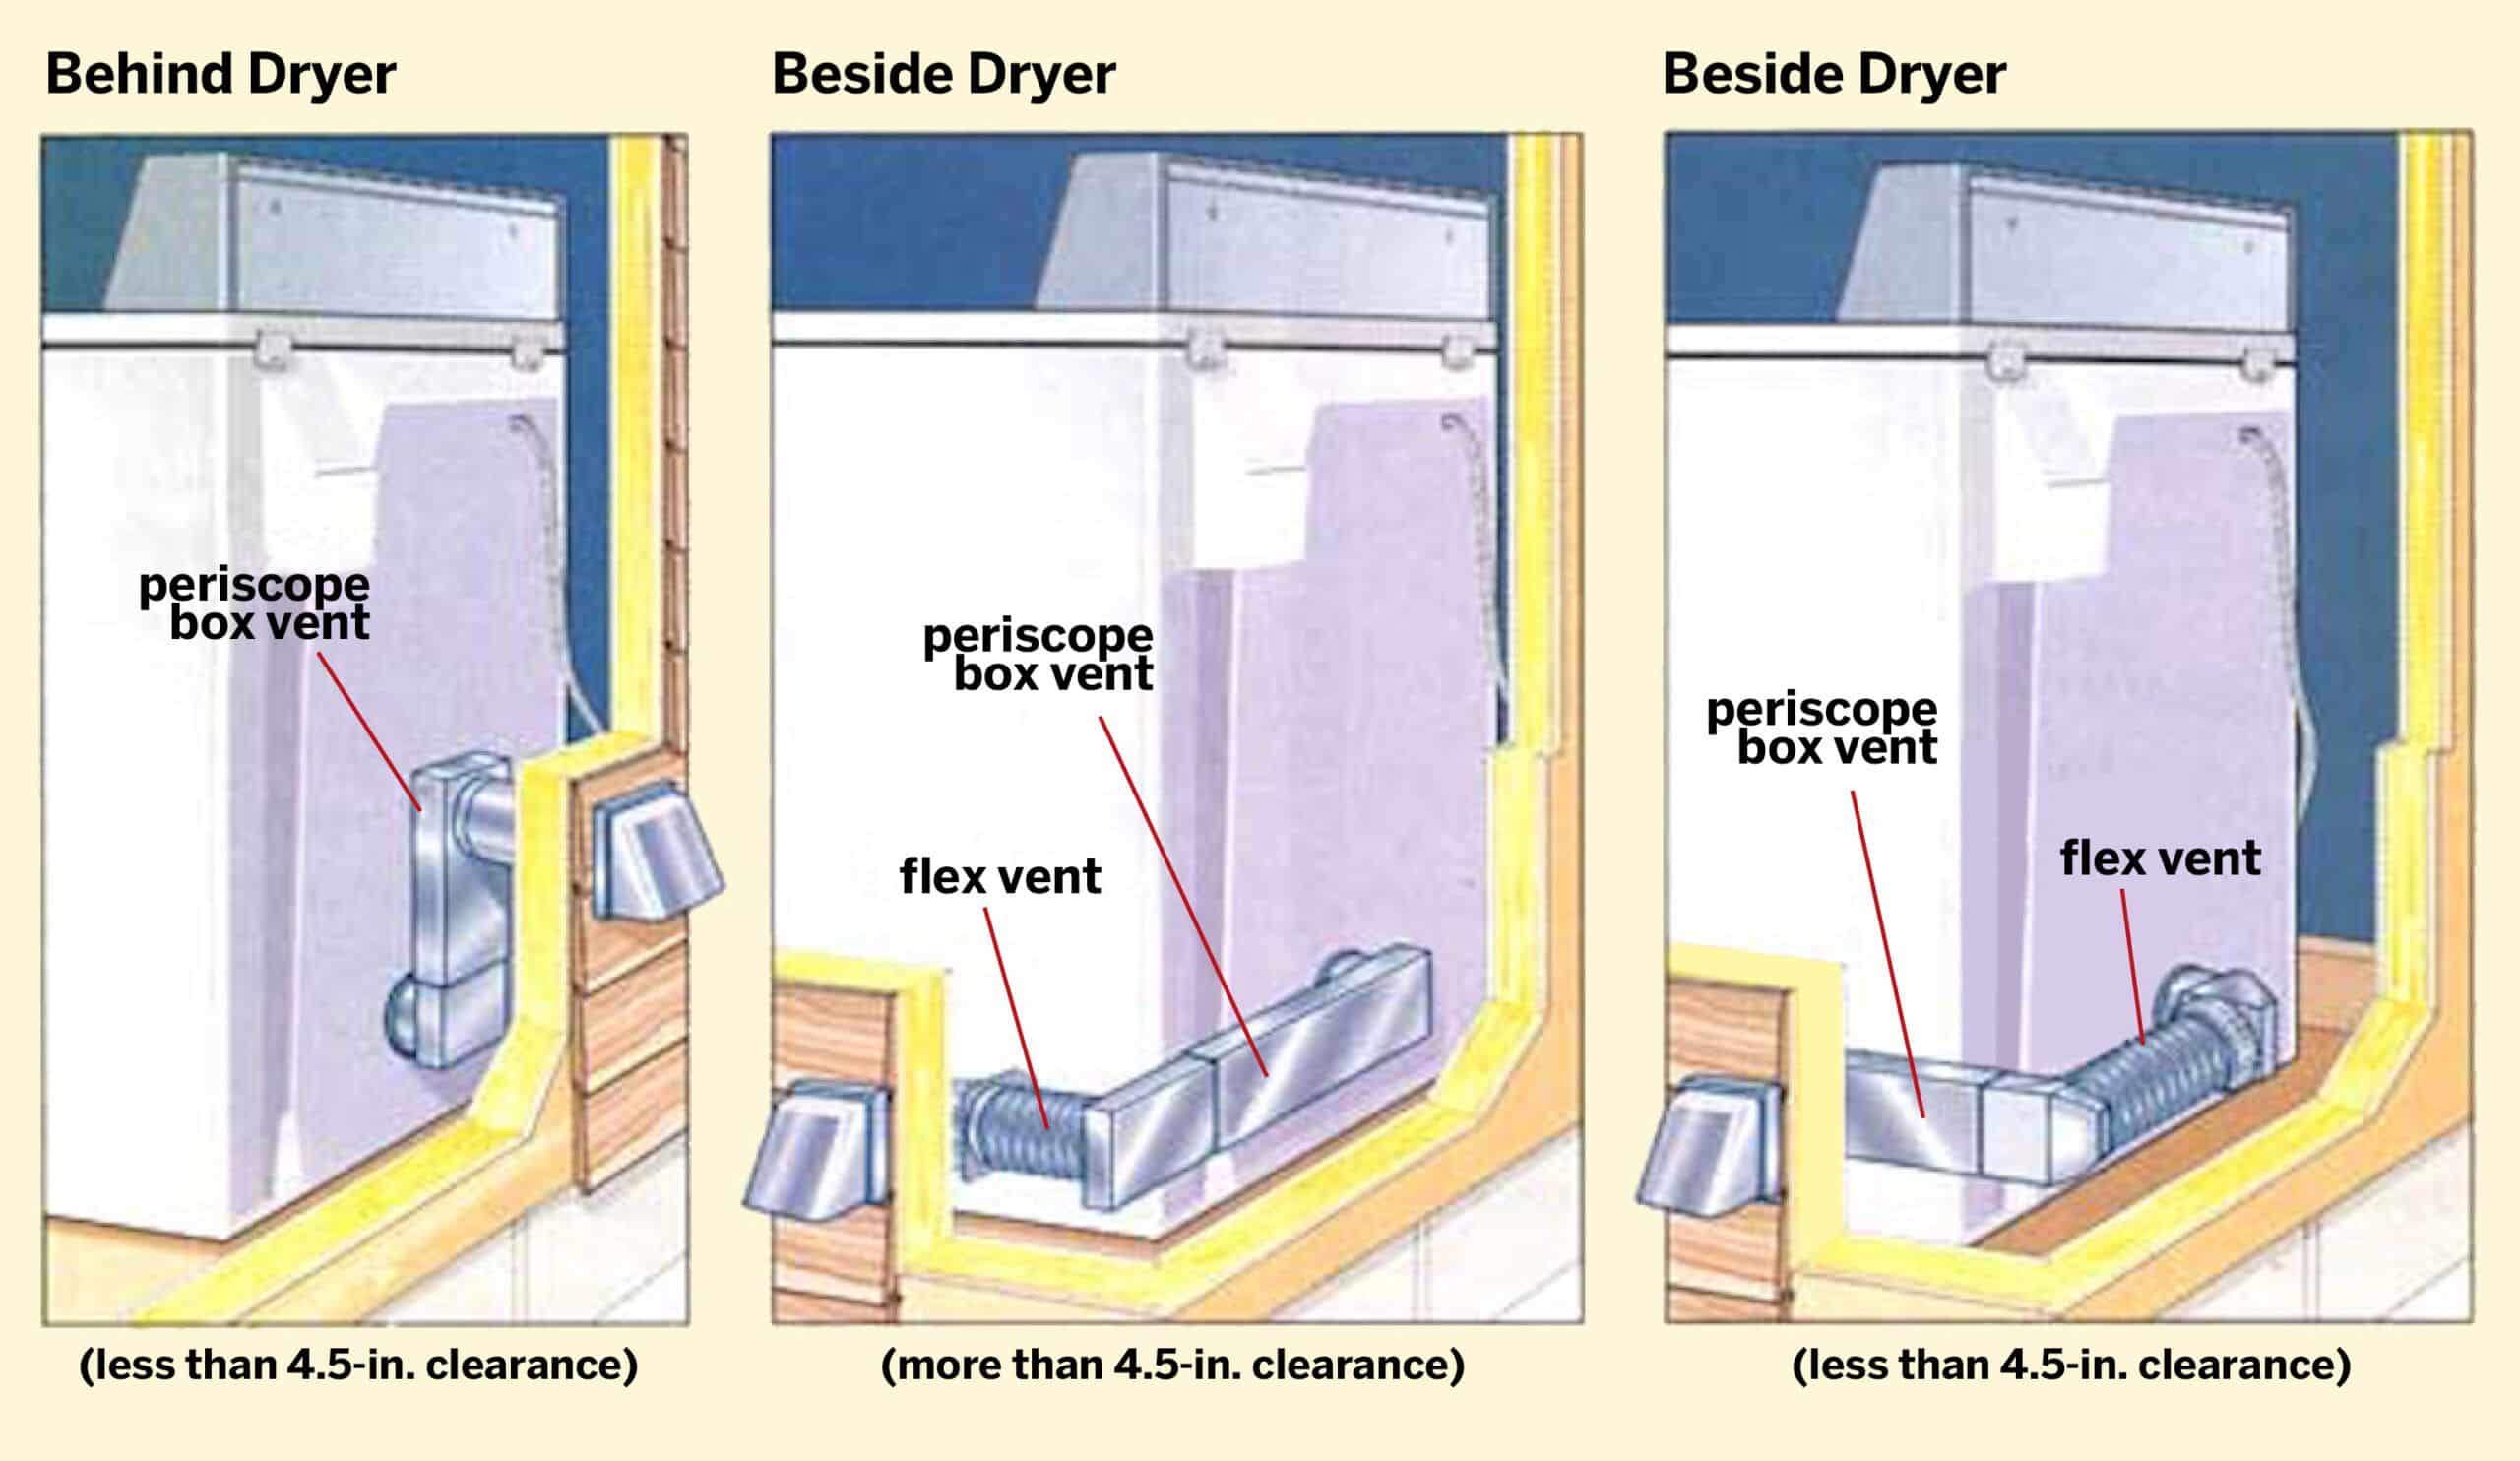
Most installations fall into a few patterns. The goal is always the same: create the most direct path outdoors with the fewest bends, using durable materials that keep internal resistance low.

Straight Exterior Wall Vent

Shortest, safest, and easiest to clean.

Roof Termination

Used when no wall access is possible. Requires a proper cap and regular inspections.

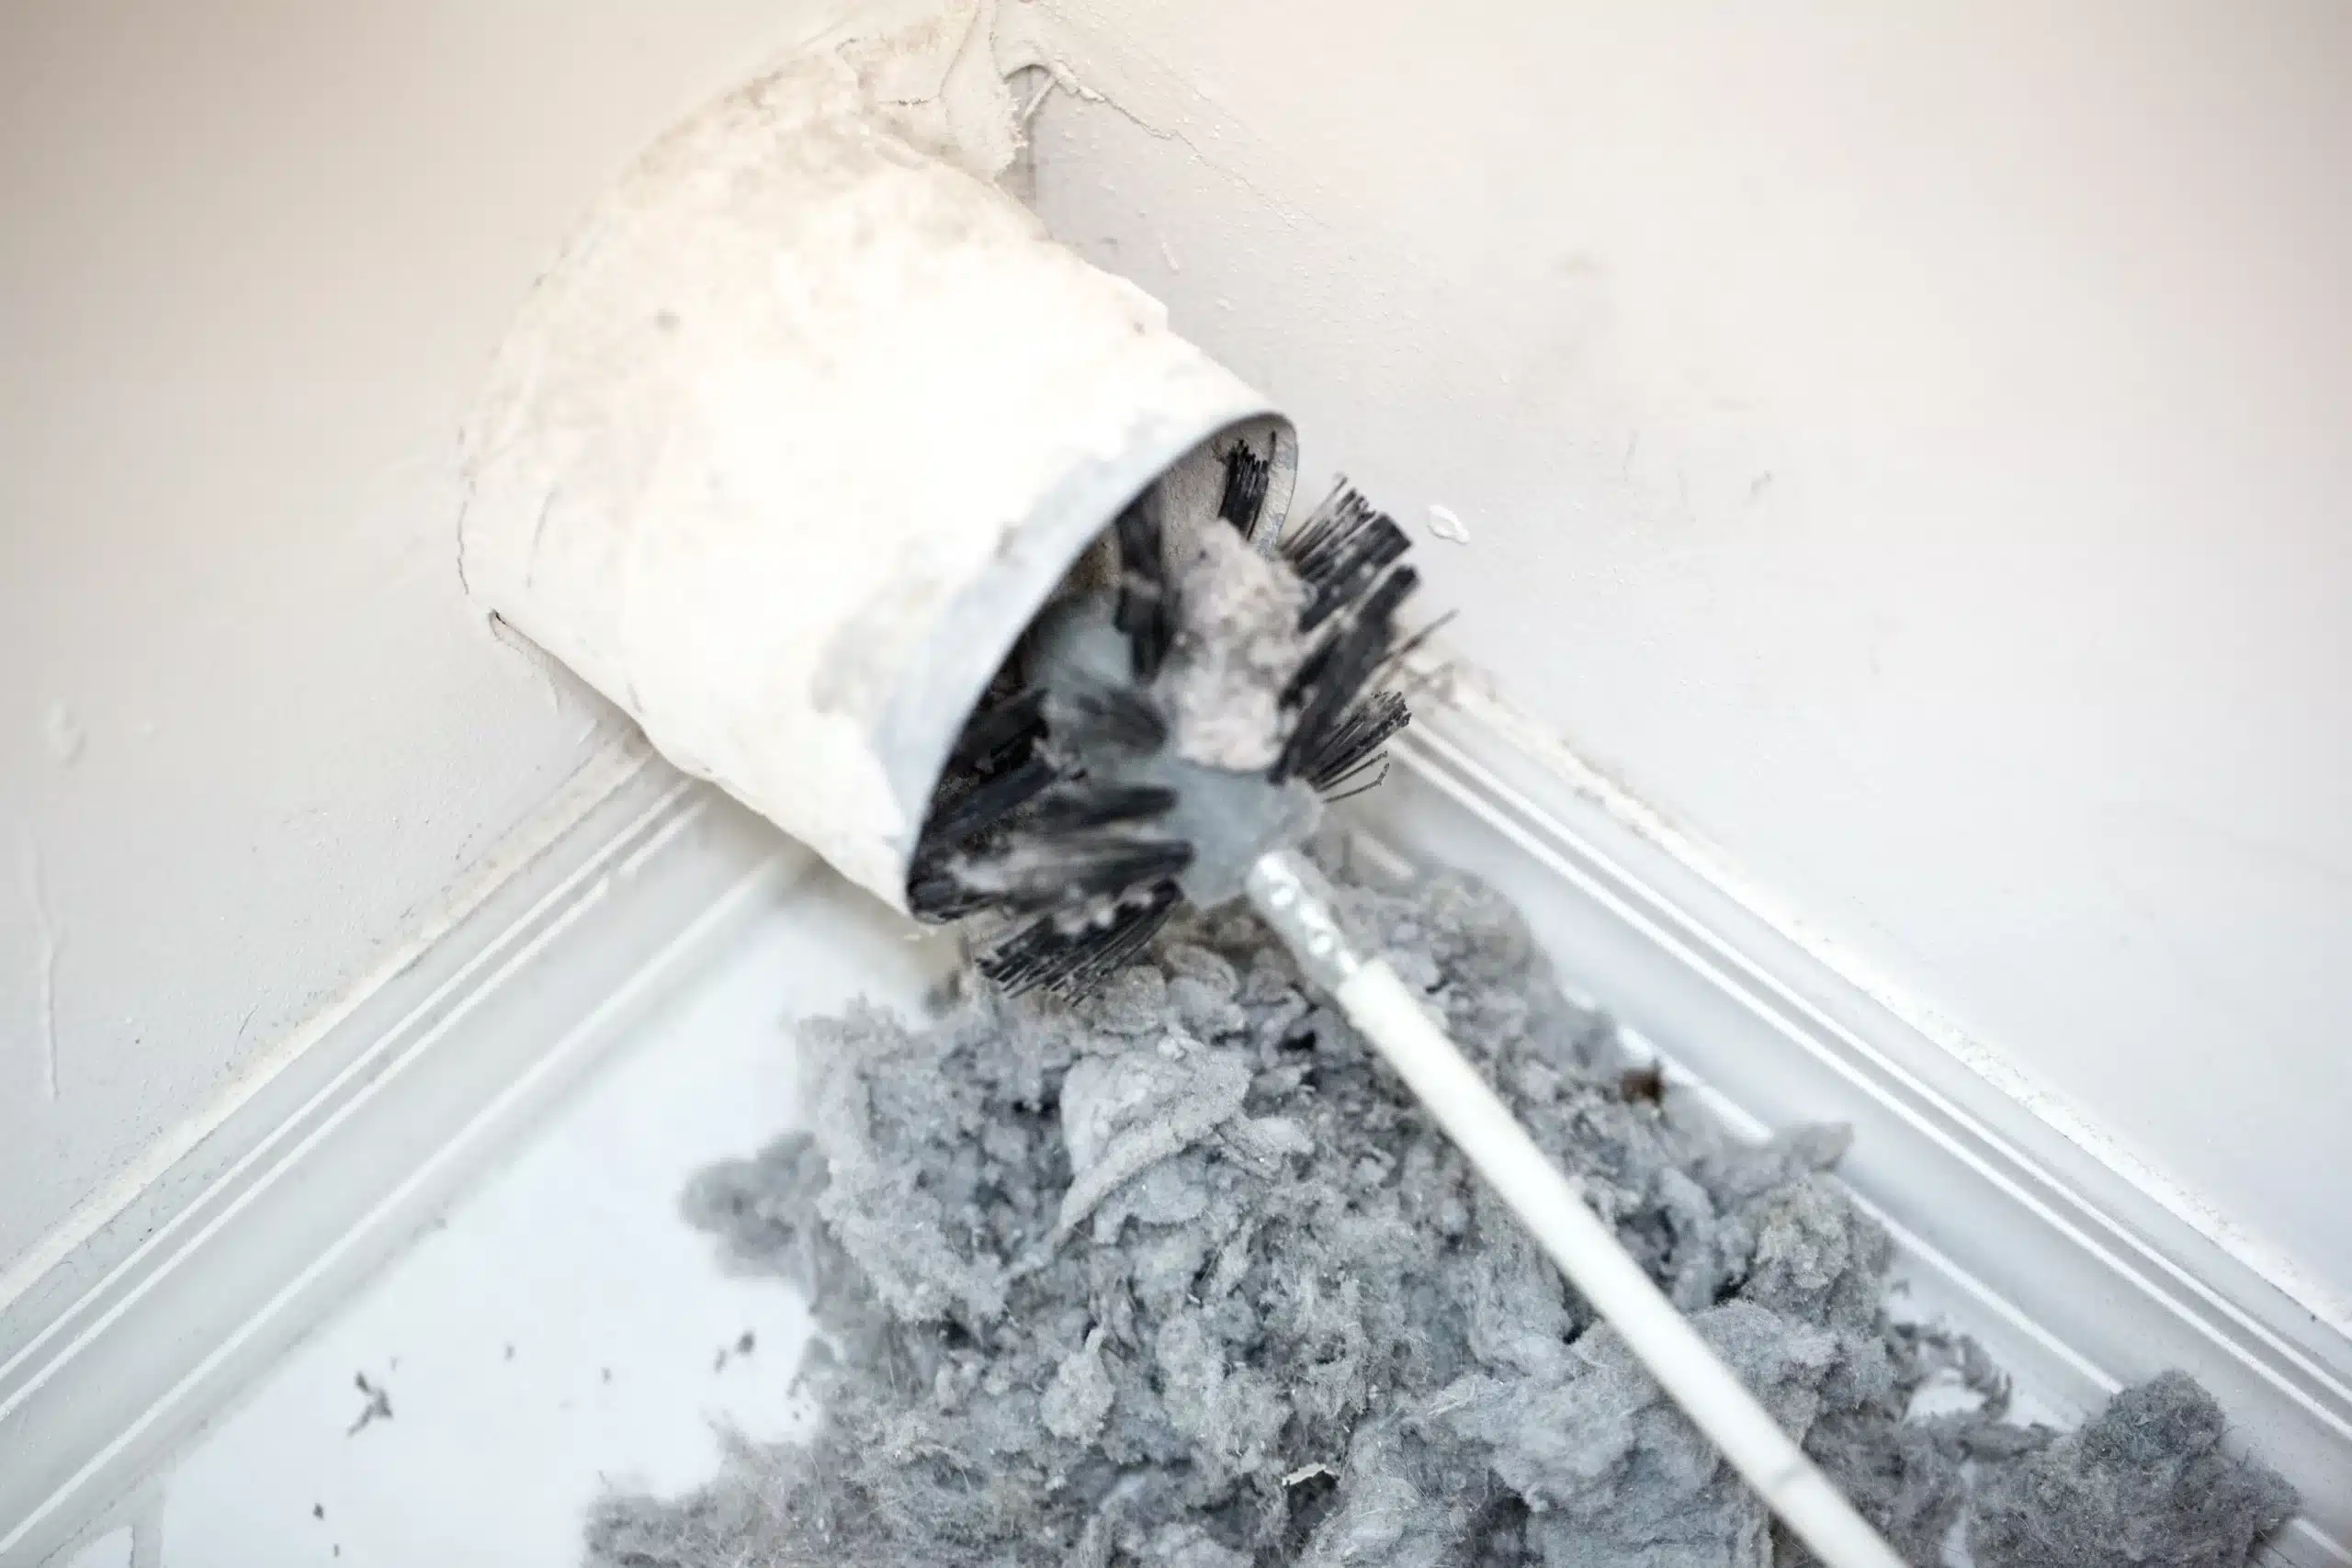
Roof dryer vent clogged with lint and debris

Basement or Crawlspace Runs

Acceptable only if duct leads outside. Avoid long horizontal runs that collect lint.

Concealed Runs

Inside walls or ceilings allowed, but cleaning access is difficult. Consider adding cleanout points.

Dryer Vent Code and Safety Considerations

Dryer exhaust is a dedicated system with clear rules to protect airflow and reduce ignition hazards. Small add-ons that seem helpful, like screens or fine mesh, often violate code because they collect lint where it’s hottest.

  • Screens and mesh covers are prohibited by most codes (they trap lint).
  • Vent terminations must open automatically and discharge outdoors.
  • Ducts cannot share a flue or chimney with other appliances.
  • Gas dryers must vent to the outside. Ventless recirculating kits are only for electric models.

When choosing an exterior termination, compare common cover designs to balance airflow, backdraft control, and pest protection.

Signs of Improper Venting

Symptoms usually show up as performance issues before a failure. If cycles are stretching or the laundry room feels unusually warm or humid, the vent may be restricted or routed in a way that the dryer can’t overcome.

  • Clothes take more than one cycle to dry.
  • Excess lint around the vent cover.
  • Moisture or mold near the vent area.
  • Strong dryer odors or excess heat in the laundry room.

If airflow feels weak or lint keeps collecting near the outside vent, it may be time to have the vent line checked and cleared by a trained team.

When venting problems keep coming back, the issue may not be the dryer itself. A crushed duct, long route, blocked termination, roof vent, or poor installation can all restrict airflow. In those cases, the next step may be an airflow check, vent cleaning, rerouting, or proper installation rather than another basic lint screen cleaning.

If slow drying, heat buildup, or weak airflow is already happening, review the common signs your dryer vent may be clogged before deciding whether the issue is cleaning, routing, or replacement.

Dryer Vent Maintenance and Replacement Tips

Even a well-designed vent needs simple upkeep. Quick seasonal checks at the termination and a look behind the dryer prevent minor lint buildup from becoming a flow bottleneck or a safety issue.

  • Inspect vent covers quarterly to ensure they open freely.
  • Clean lint around the termination point.
  • Replace brittle plastic ducting with rigid metal.
  • Have the system professionally inspected every 1–2 years.

For a simple DIY attempt between inspections, see our step-by-step leaf blower walkthrough and note where this method has limits.

When Dryer Venting Problems Need Professional Help

Some venting issues are simple maintenance problems, but others point to a design or installation issue. If the duct is crushed, routed through a difficult path, blocked near the termination, or built with unsafe material, cleaning alone may not solve the problem. A technician can check airflow, inspect the route, clear buildup, and recommend whether repair, rerouting, or installation is the safer next step.

If the safest solution requires a new route, replacement duct, or updated exterior termination, professional dryer vent installation can help separate a design problem from a simple cleaning issue.

Choosing the Right Vent Setup

The safest dryer venting is short, straight, rigid metal ducting that terminates outdoors with a code-compliant cover. Roof vents are acceptable but harder to maintain, while flexible foil ducts should be avoided.

If you’re installing a new dryer or suspect your venting isn’t safe, you can get help. A trained team can spot code violations, clear blockages, and recommend safer upgrades.

If the current route is too long, damaged, or unsafe, the right fix may be professional dryer vent installation rather than another temporary adjustment.